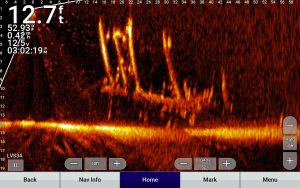
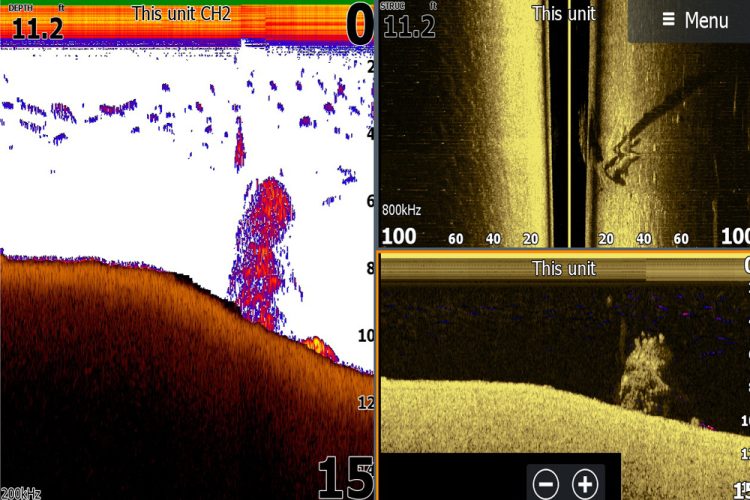
How distinct a brush pile looks on sonar depends on sonar imaging. Side and
down imaging have the easiest to identify compared to traditional 2D sonar.
I Spy a Brush Pile
by Brad Wiegmann
Side imaging allows anglers to search large areas quickly for brush piles and laydowns.
Most reservoirs, ponds and rivers have brush piles, but understanding what sonar images you are looking for makes a difference in locating and fishing them. Everyone with a fishfinder has at least one of the following sonar imaging types, including traditional 2D sonar, CHIRP sonar, side imaging, down imaging and live-imaging sonar (LIS). Brush piles can be easy to see when approaching them from one angle and almost disappear or turn into a blob from another angle.
In addition to brush piles, we’re going to include laydowns, standing timber and all wood cover when talking about brush piles in this article. How you cast in and around brush piles or laydowns can make or break a day of fishing. You can see what direction a brush pile is laying, plus its size and height from the images on your fishfinder.

Traditional 2D-imaging sonar has been around the longest, but it lacks the super-sharp imaging of down imaging, side imaging and LIS. Brush piles often resemble a towering blotch or large blob on the bottom with little detail. CHIRP sonar provides sharper imaging than traditional 2D sonar by isolating individual fish close to the bottom or in tight schools, but it is still missing the almost photo-like imaging.
One reason anglers still use traditional broadband 2D single-frequency sonar or CHIRP with a range of frequencies is because it’s so easy to see a brush pile when driving over it. The best setting when searching for brush piles with traditional 2D sonar is 83kHz, which creates a broader, wider cone. When using CHIRP sonar, select medium CHIRP sonar for searching and change to HIGH CHIRP for better sharper imaging.
Side and down imaging are available in mega 1.2MHz, 80 kHz and 455kHz. Unlike traditional sonar, the transducer beam is a razor-thin, high-definition beam that results in almost photo-like imaging. Brush piles or laydowns along with baitfish or catfish can easily be seen.
The down imaging cone is located directly under the boat. When searching for brush piles or laydowns, use the wider 455kHz then change to the narrower 800kHz for high resolution.
Side-imaging cone-beam coverage is two razor-thin precise sonar beams at right angles from the left and right of the boat. This is by far the best sonar imaging for searching for cover. Use 455kHz with its larger cone coverage, then switch to 800kHz for sharper imaging up to 250 feet. The newer mega 1.2MHz frequency produces the best, sharpest imaging. However, keep in mind that this frequency works best in shallow water or at shorter distances away from the boat.
The major difference between the previously mentioned sonar imaging and LIS imaging is you don’t have to be moving for them to produce imaging. There are no frequencies to change for better image resolution; however, by increasing the gain, you will see more detail or decreasing the gain will reduce screen clutter.
(Brad Wiegmann of Springdale, Arkansas is a fishing guide, podcaster, social media influencer, professional photographer, videographer and outdoor writer published in dozens of print and electronic media outlets across the nation. Every month, he provides CatfishNOW readers with the latest information on the ever-changing world of fishing electronics. Learn more at BradWiegmann.com.)


